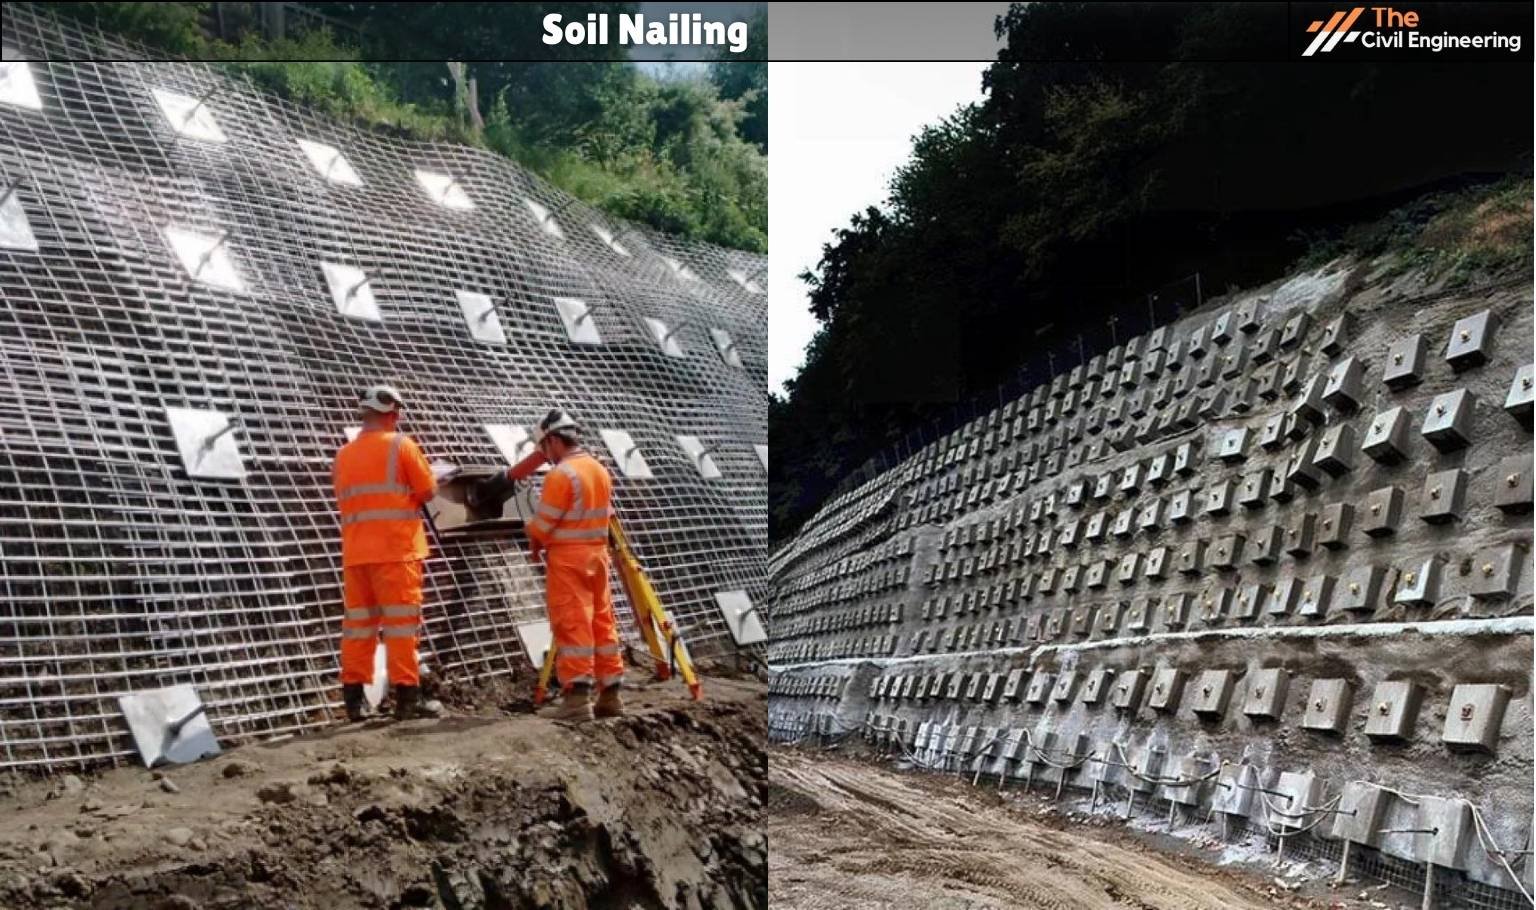
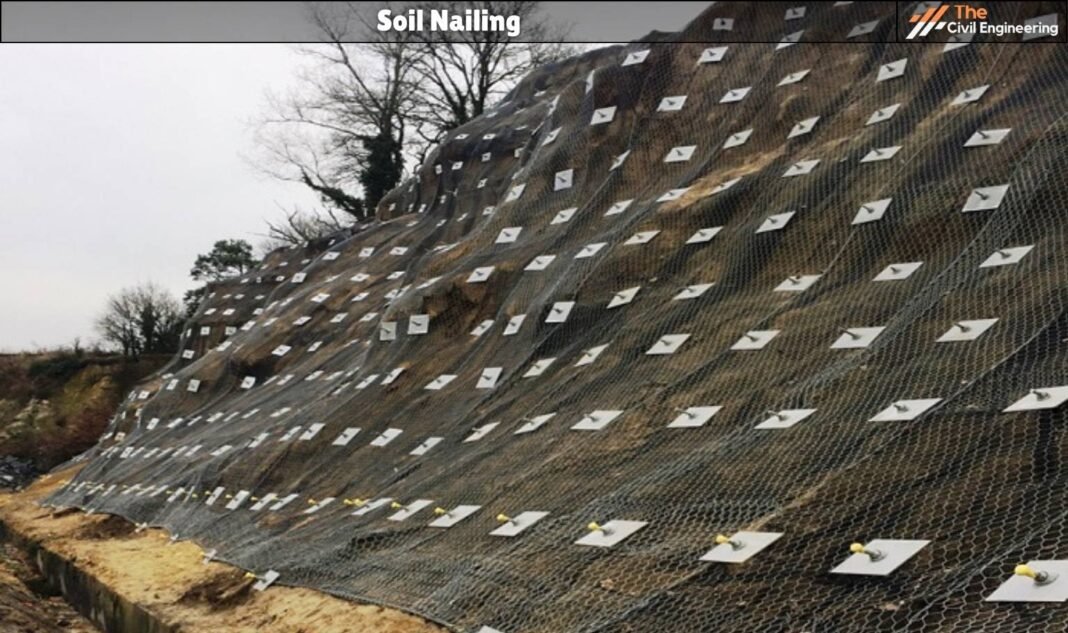
Soil nailing is defined as the construction technique to reinforce and strengthen the natural or excavated soil slope by installing nails into holes made in slopes by drilling and grouting procedure.
Soil nailing can be applied for different soil types like glacial soils, sandy clays, clayey silts, gravels, etc.
But it is not suitable for loose granular soils, highly corrosive soils, soft fine-grained soils, organic soils, etc.
The main aim of using soil nailing is to stabilize slopes and retaining walls.
1. History of Soil Nailing
Soil nailing technology was first introduced in France. The project, undertaken in 1961, was the first where steel nails were used to reinforce a retaining wall.
The first soil nail wall to use the modern soil-nailing technique was built near Versailles in 1972.
2. Components
Some of the components used in soil nailing are explained below:
a. Soil Nail
This component includes tendon, grout, and corrosion-proof soil nail.
i. Tendon
Tendon is a ground-reinforcing element like a steel (hollow or solid) bar that is inserted behind a soil nail wall.
ii. Grout
Grout is used for transferring the shear and tensile stresses from the tendon to the ground to improve stability.
Portland cement and water are used to be placed in drilled holes under gravity by using the tremie method.
iii. Corrosion proof
For long-lasting, the soil nail should be protected against corrosion.
To protect the soil nail from corrosion, it is encapsulated by a sheath of a fusion-bonded epoxy coating or galvanization.
b. Facing
Facing can be done by shotcreting which includes the initial and final phases depending upon the excavation period for temporary and permanent stability.
Reinforced shotcrete is done during initial facing with the installment of welded-wire mesh over the excavated slope of soil consisting of precast-concrete spread with the help of a shotcrete machine like Aliva-520.
The final facing gives the structurally stable aesthetic design finishing.
c. Other Components
Other components like nuts, bolts, washers, bearing plates, and headed studs are embedded with soil nails. There should be a proper drainage system around soil nailing sites using ground anchors, geosynthetic materials, and so on.

3. Cost
The cost of soil nailing depends upon a range of soil nailing applications, materials used, manpower, complexities during construction procedures, and the effectiveness of soil nailing work.
The cost of soil nailing installation and removal, maintenance differs nationally.
4. Machinery Used for Soil Nailing
a. Rotary machine with a downhole hammer.
b. Air compressor (of 100psi and (300-700) CFM.
c. Grout Mixer
d. Grout Pump (for shotcrete)
5. Design Considerations
a. Immediate inauguration of soil nailing work after excavation should be done to reduce the chance of collapse of soil slope.
b. According to the strength of the soil surface, the spacing of soil nails should be chosen wisely for better soil slope stabilization.
c. Strength limit state of soil should be analyzed carefully for potential failure.
d. Every property should be checked carefully.
e. Nail length, diameter, external loads due to wind, hydrostatic force, earthquakes, vibrations, etc. matters during the designation of the soil nailing process.
f. Drainage system and freeze-thaw action should be taken into consideration.
6. Types of Soil Nailing Methods
a. Drilled and grouted soil nailing method
In this method, in naturally or excavated slope faces, holes are made by drilling machines like Ak-10, and nails are inserted in these drilled holes with grouting materials (concrete, shotcrete) in the spacing interval of 1.5m using (100-200mm) diameter nails.
b. Driven soil nailing method
In this method, excavated slopes are temporarily stabilized as quickly as possible using nails of (19-25mm) diameter with a spacing of (1-1.2m). This method doesn’t assure corrosion protection to reinforcement (steels or nails).
c. Self-drilling soil nailing method
Hollow bars are inserted into the slope surface with the filling of grouting materials. It is faster than drilled soil nailing method and has more corrosion-resistive features.
d. Jet grouted soil nailing method
Less corrosive steel bars are installed in the holes made by eroding soil using jets on slope surfaces. Then, holes are grouted with concrete.
e. Launched soil nailing method
This method involves nailing steel bars forced into the soil with a single shot using compression by an air mechanism.
It is a difficult method to penetrate the ground with nails in a single shot.
7. Soil Nail Installation Considerations
1. Soil nails should penetrate beyond the slip plane into the passive zone generally for 4 m to 5 m.
2. The spacing of soil nails in the horizontal or vertical directions must be linked to the strength of the soil. Surplus soil nails should be placed at the edge of any surface being stabilized.
3. Soil nailing should begin immediately after excavation. Any late may result in the collapse of the soil slope.
8. Construction Sequence
The algorithmic sequence of construction work of soil nailing is:
Step 1: Initial excavation (of depth 3-5 ft)
Step 2: Drilling of holes using drill machines (downward 15° inclination from horizontal).
Step 3: Insertion of nail reinforcement and grouting into the slope face.
Step 4: Construction of the initial facing of the slope.
Step 5: Construction subsequential level.
Step 6: Repeat steps 1 and 4.
9. Applications
1. It is used to reinforce and stabilize the slope of soil and retaining walls.
2. Soil nailing is done for widening roadways, railway embankments, landslides, and flood protection on the banks of rivers, highway embankment, cuttings, etc.
3. It can be used for constructing Shored Mechanically Stabilized Earth (SMSE) walls.
4. It is used for retrofitting and constructing the bridge abutments.
10. Advantages
1. Shotcrete facing is economical.
2. Cost-effective method for durability and stability of slope soil failure.
3. It can be applied to a relatively large area.
4. It is suitable for various applications like temporary excavation shoring, tunnel portals, repairing of failures structures, etc.
5. Installation process takes less time.
6. It has less impact on the environmental system.
7. It uses fewer materials and machinery.
8. It has no height limitations.
11. Disadvantages
1. Unsuitable for high water table areas.
2. For soil having low shear strength, high soil nail density is difficult to use.
3. Expert contractors and manpower are crucial.
4. 3D modeling designation is required.
5. Not suitable where strict deformation control is needed for structures.
6. Metal Soil nails can corrode easily.
12. References1. Content Filter & Authenticity Checking Team, The Civil Emgineering (Our team checks every content & detail to maintain quality.) |
Read More: Sewage
Read More: Unit Weight of Soil

